CH-640 Fuselage Hull - Stage One (176 of 206)
![[First]](../images/bl_first.gif)
|
![[Prev]](../images/bl_prev.gif)
|
![[Home]](../images/bl_home.gif)
|
![[Index]](../images/bl_index.gif)
|
![[Next]](../images/bl_next.gif)
|
![[Last]](../images/bl_last.gif)
|
|
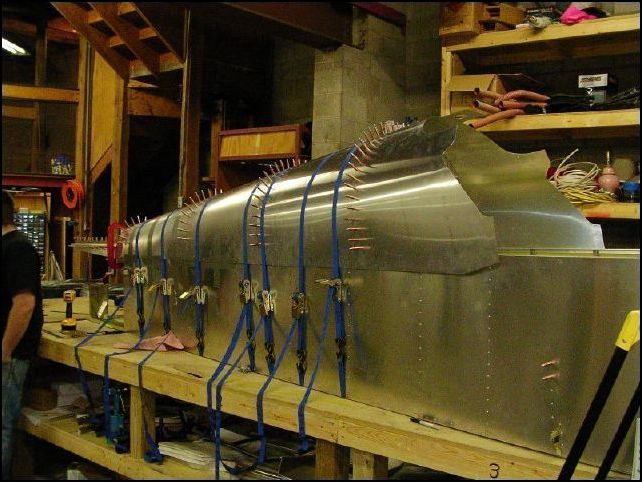
| This is what the fuselage looked like when we completed drilling and clecoing the top skins to the bulkheads. I also drilled the bulkheads to the top longerons, one A4 rivet hole on each side of each bulkhead. I did NOT install bulkhead 3 at this time because I am going to install the optional bagage compartment so I need to cut the hole for this in that bulk head before installing it. |
|
|
|
|
|
|
|